Bored in Quarantine? Take Self Portraits at Home in Just 4 Easy Steps!
At this point, we’re all struggling in quarantine, whether it be the stress of working from home, not seeing our friends, or just being plain bored. As I’ve been stuck at home, I’ve found that taking pictures is really therapeutic for me, and fun too! Here is what I’ve done to take cool pictures without leaving my house. If I can do them, you can too!
1. Pick your location!
Location can make or break a photo. My best advice is to stick to natural light if you can. Find a big window and use the light and shadows from it to your advantage. If you don’t have a large window accessible, set up a lamp at a 45* angle from the front of your face to make a beautiful Rembrandt shadow to shape your face.
I ended up supplementing my window light with an LED because there wasn’t enough direct light coming through my window.
2. Diffuse it!
Is your light too harsh? Is it leaving sharp shadows on your face in an unflattering way? Diffuse it! If you have a diffuser or bounce-board, these can be very helpful, but you can also just use a white bedsheet or poster board. Place it either in front of the light source to get rid of some of the intensity, or place it opposite the light source so the light reflects and illuminates the darker side of your face.

I used a diffuser to help stretch the light across my face smoothly without leaving any harsh shadows.
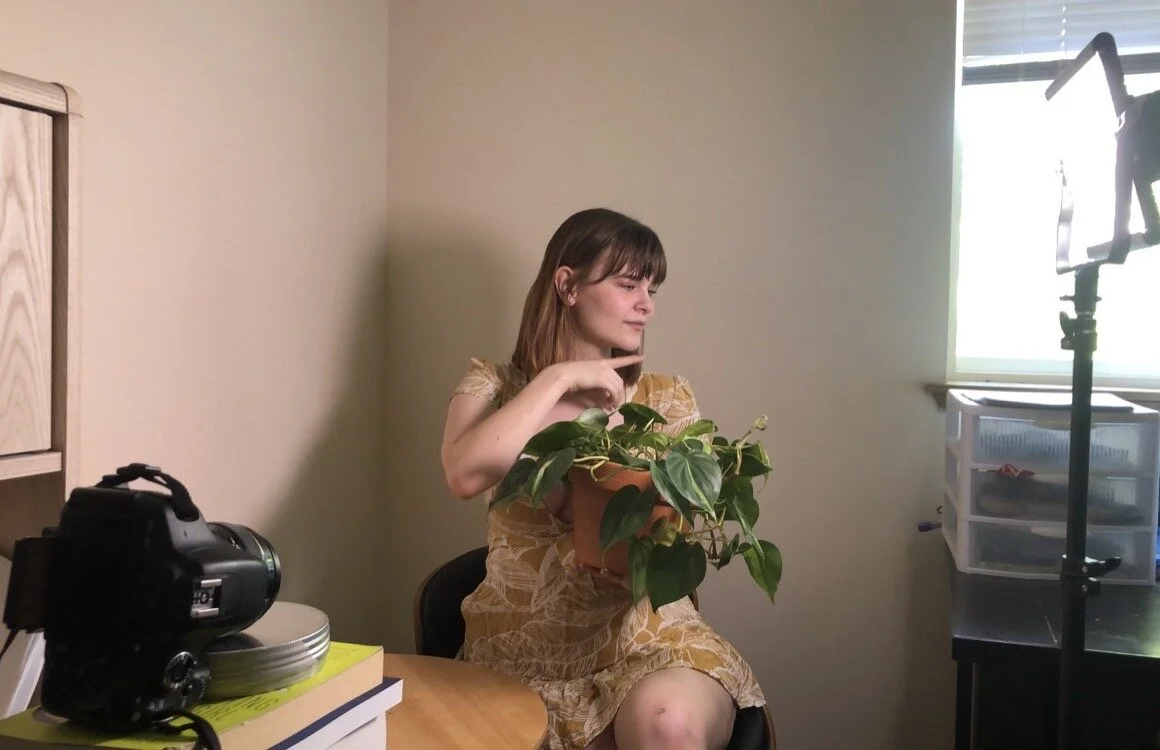
3. Get creative!
Use what you have to your advantage. Got a mirror? Test out different angles and creative poses to get a unique look. Have a colander? Place it in front of an intense light source like the sun to get a cool dotted effect. Have some flowers or plants? Try holding them in different places to frame the photo or your face.

This may not be a self portrait, but it definitely could be! This is the colander effect in use. I used a wide open aperture on a 50mm lens with direct sunlight for the most intense shadows.
4. Set up your camera and get shooting!
Set your camera/phone on a tripod, or a chair and some books. After you have the settings and focus set how you want them, snap away! The timer is there for a reason. It might take a few tries to get it right, but don’t give up!

I’m really happy with how this one turned out!
With these tips, you’re bound to get some beautiful pictures you’ll be proud to share on the ‘Gram or just to keep for yourself. If you decide to try any of these, let me know! Message me on instagram @taylor.shoots!